Making Frames
- Jan 4, 2021
- 9 min read
Now that I am in the final stages of making the frames, I thought it would be a good time to explain the process undertaken as the first stage requirement of the Class Globe 580 builders blog as well as hopefully providing some useful information to other novice builders.
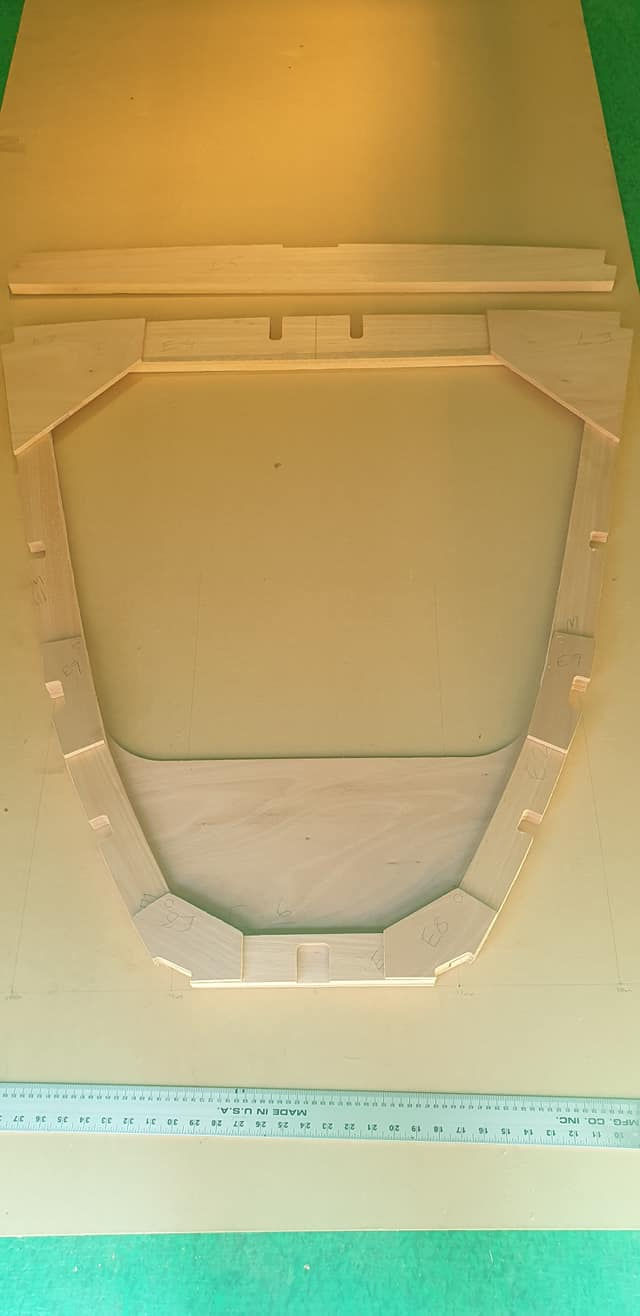
FRAME E
This was the first frame I looked to complete as it was the smallest and I suspected possibly the easiest which I figured was a good place to start given my lack of prior boat building experience.
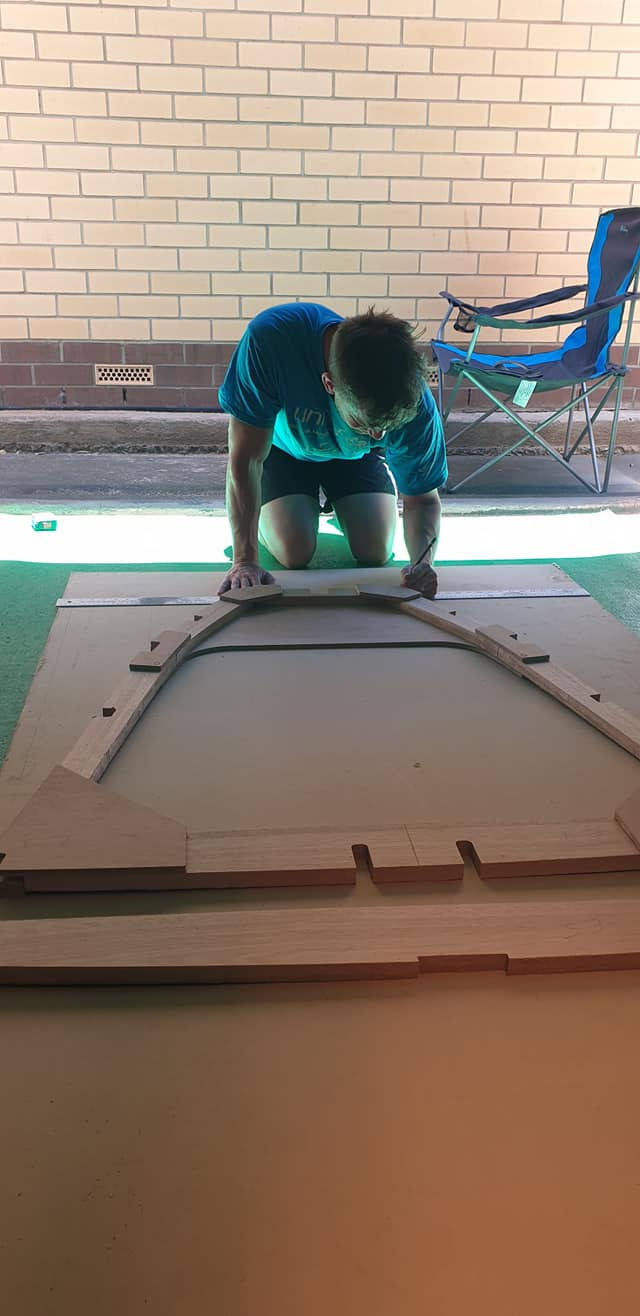
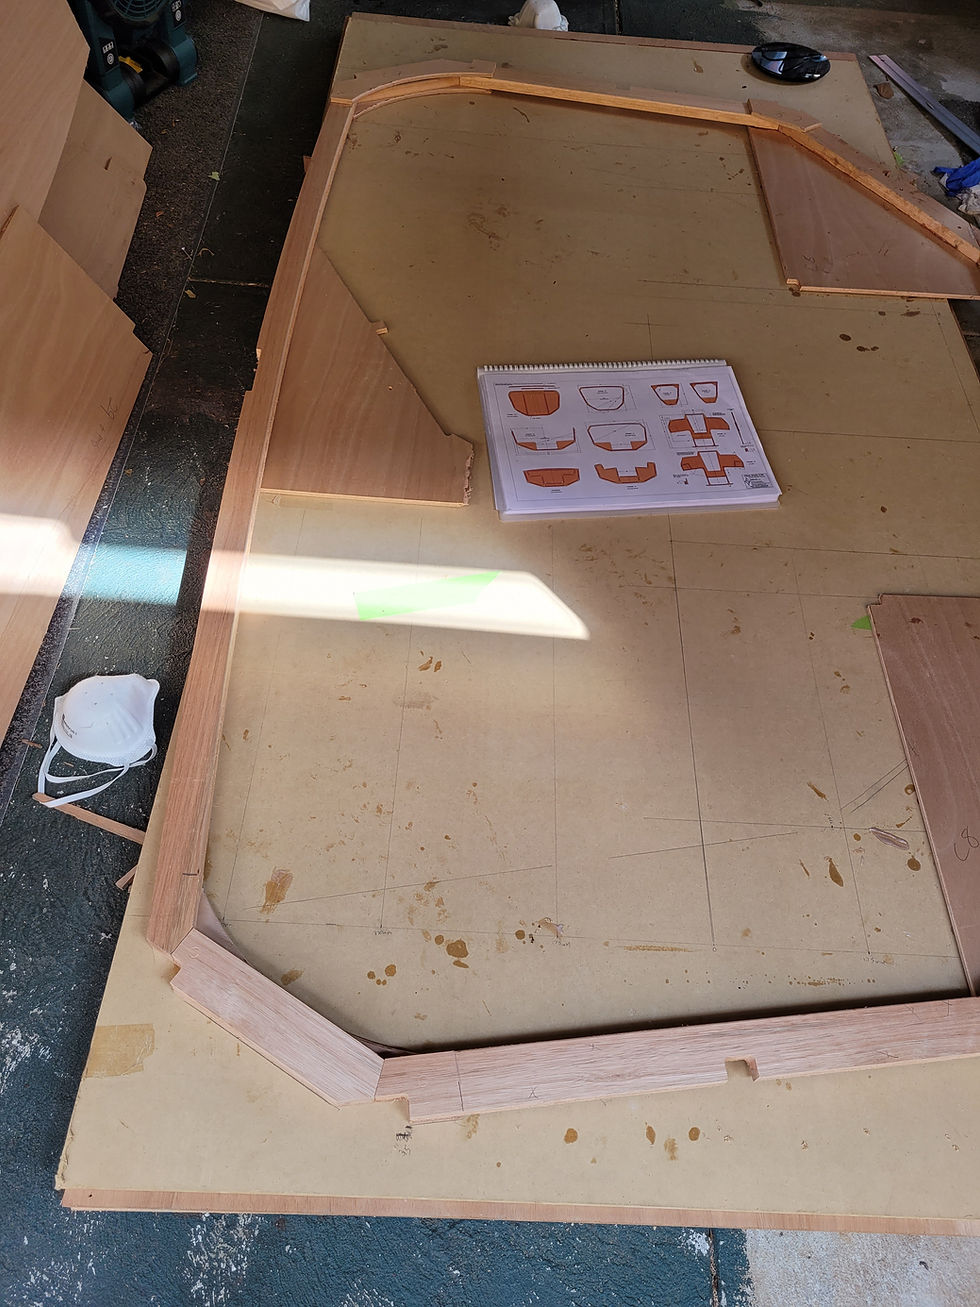
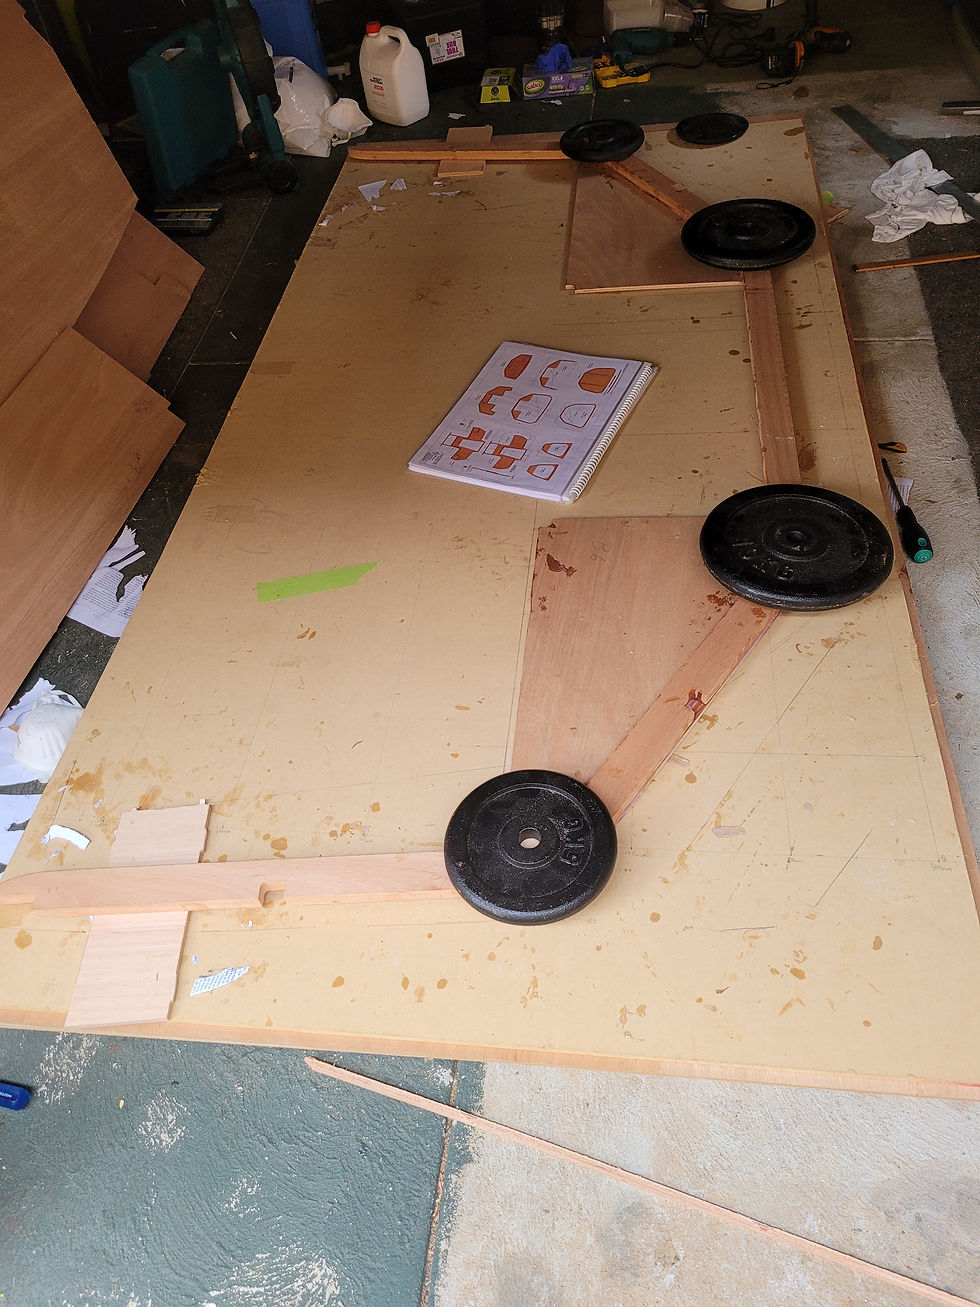
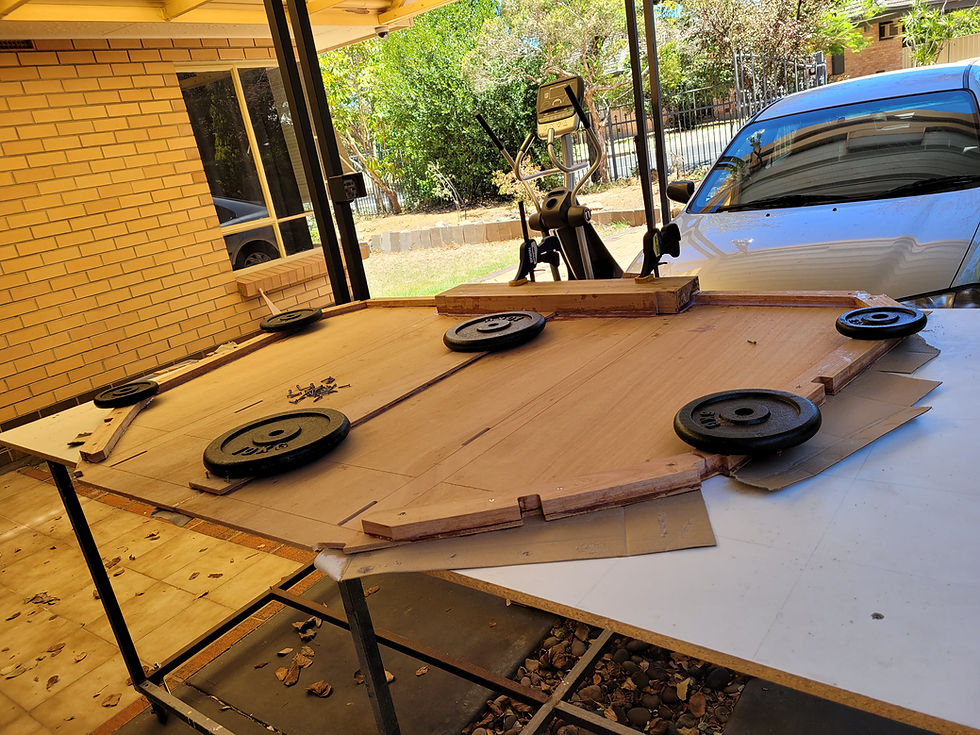
I was also lucky enough to have my good friend, shipwright and former co-skipper of the 2018 Melbourne to Osaka race Tom Crabb come over to guide me through the process and assist with the first batch of epoxy. Given that I did not have a workbench set up we decided the best option for now was to lay a bunch of the actual boat ply on the concrete floor to make it heavy and assist with making the surface as level as possible and then placed a heavy piece of MDF I had laying around on top to work from.
From there, we used a spirit level to determine if it was level across various positions and angles along the board and made up a bunch of wedges from scrap ply and inserted them along the edges where required.
(The process from here was what I then followed for all the frames although the process improved each time:)
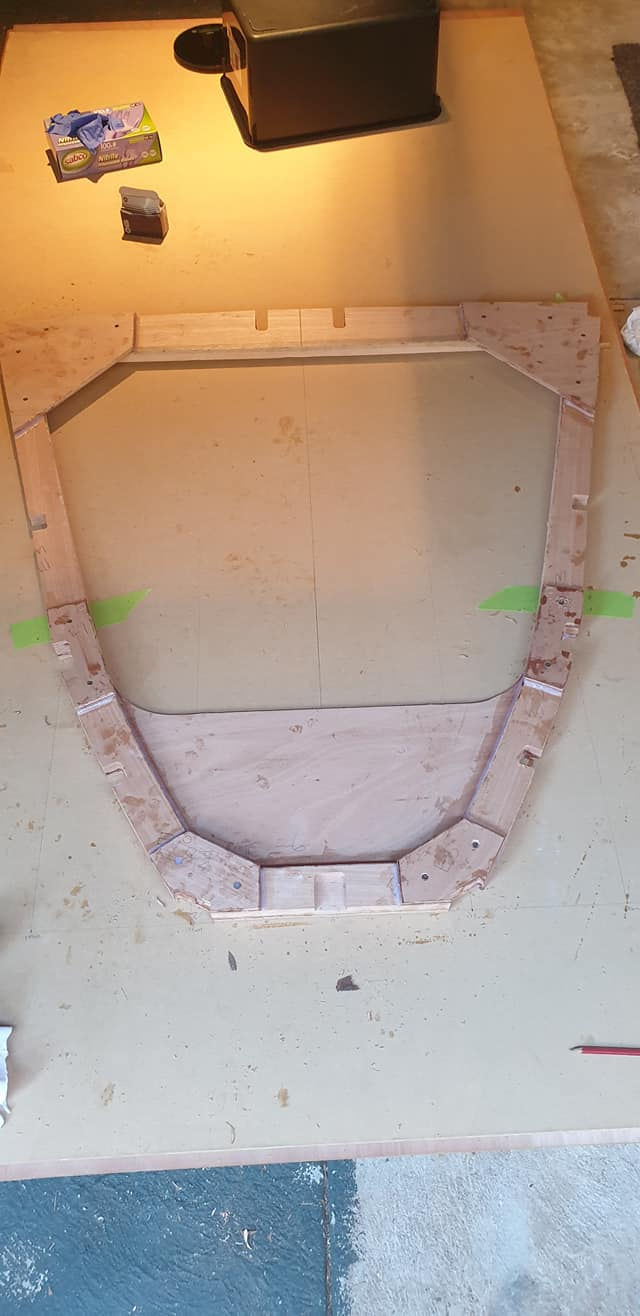
Once happy that the surface was as level and true as possible, the cut out CNC pieces of ply and hardwood were assembled in order once any tabs from the cut out were filed off with a wood file.
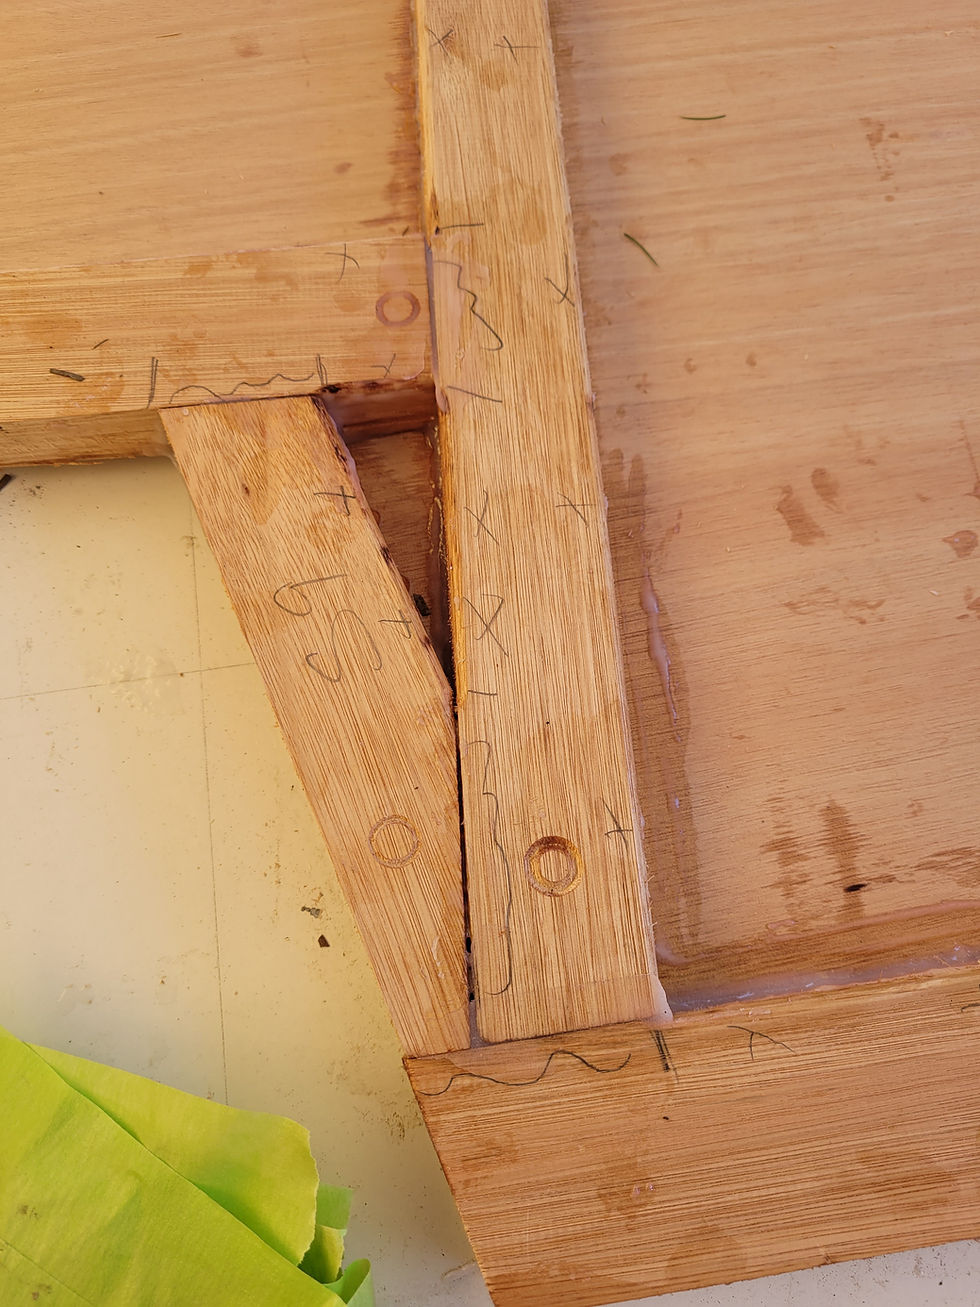
We ran few lines across the MDF that the frame was placed on to assist with taking measurements including a line directly down the centre line then upon cross-referencing the measurements with the plans, outlined the frame in pencil along all the borders.
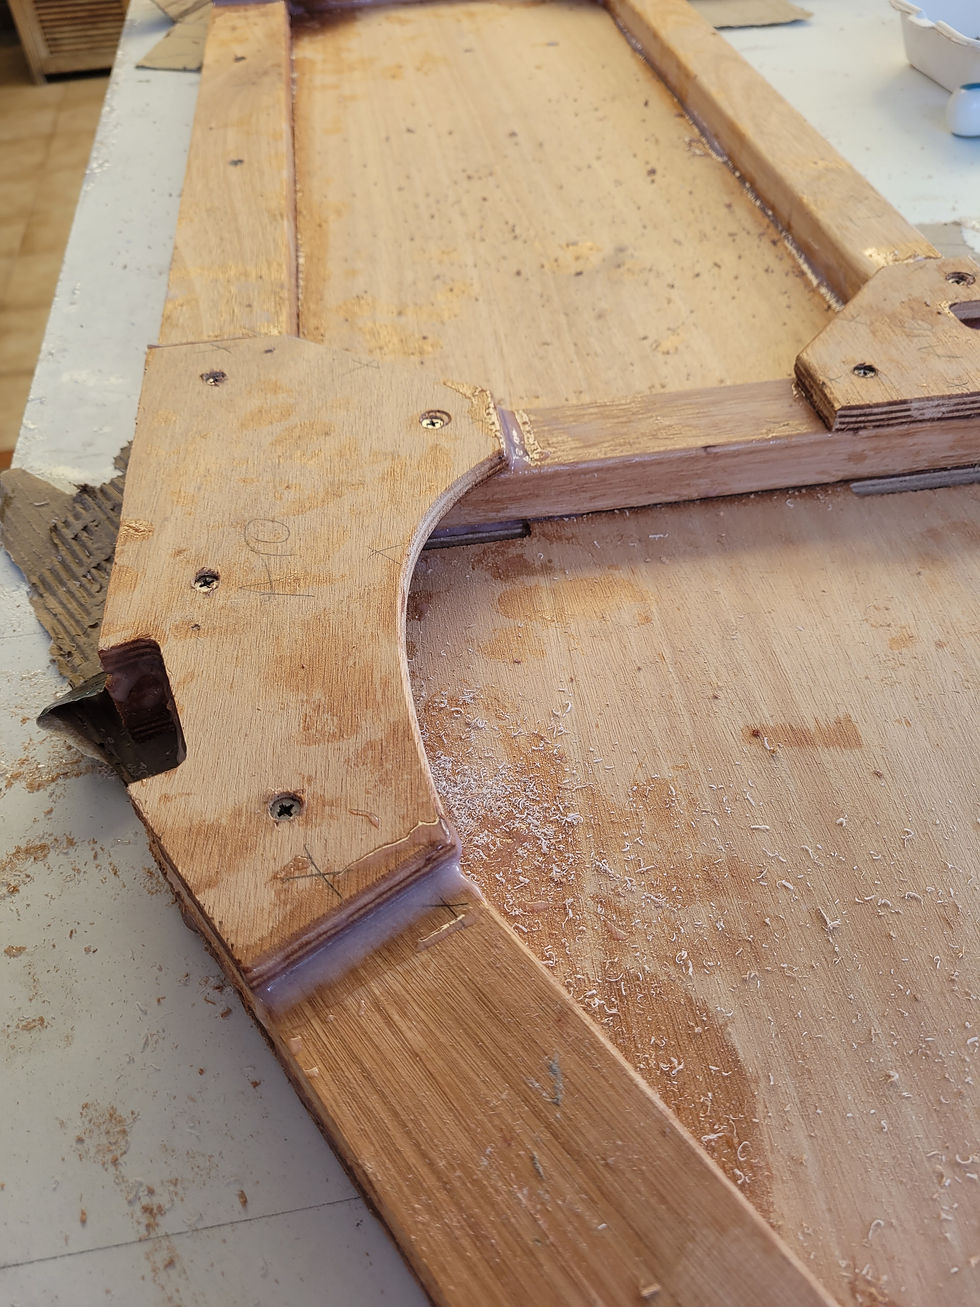
Next, Tom went around with a pencil and marked any surface that would remain exposed/did not meet with another piece of ply and then handed them to me and I went around with a router with a 3mm piece that rounded off all these edges. Any edge that met or will meet with another piece of wood was left flat to retain the surface area for gluing.
From there we placed all the pieces back into position, checked the measurements once more then drilled pilot holes in the corners/places we wanted the hold the pieces down. I found this to be important as I had forgot to do this in one of the later frames which and trying to screw a piece into position with the epoxy sliding around underneath was somewhat challenging.
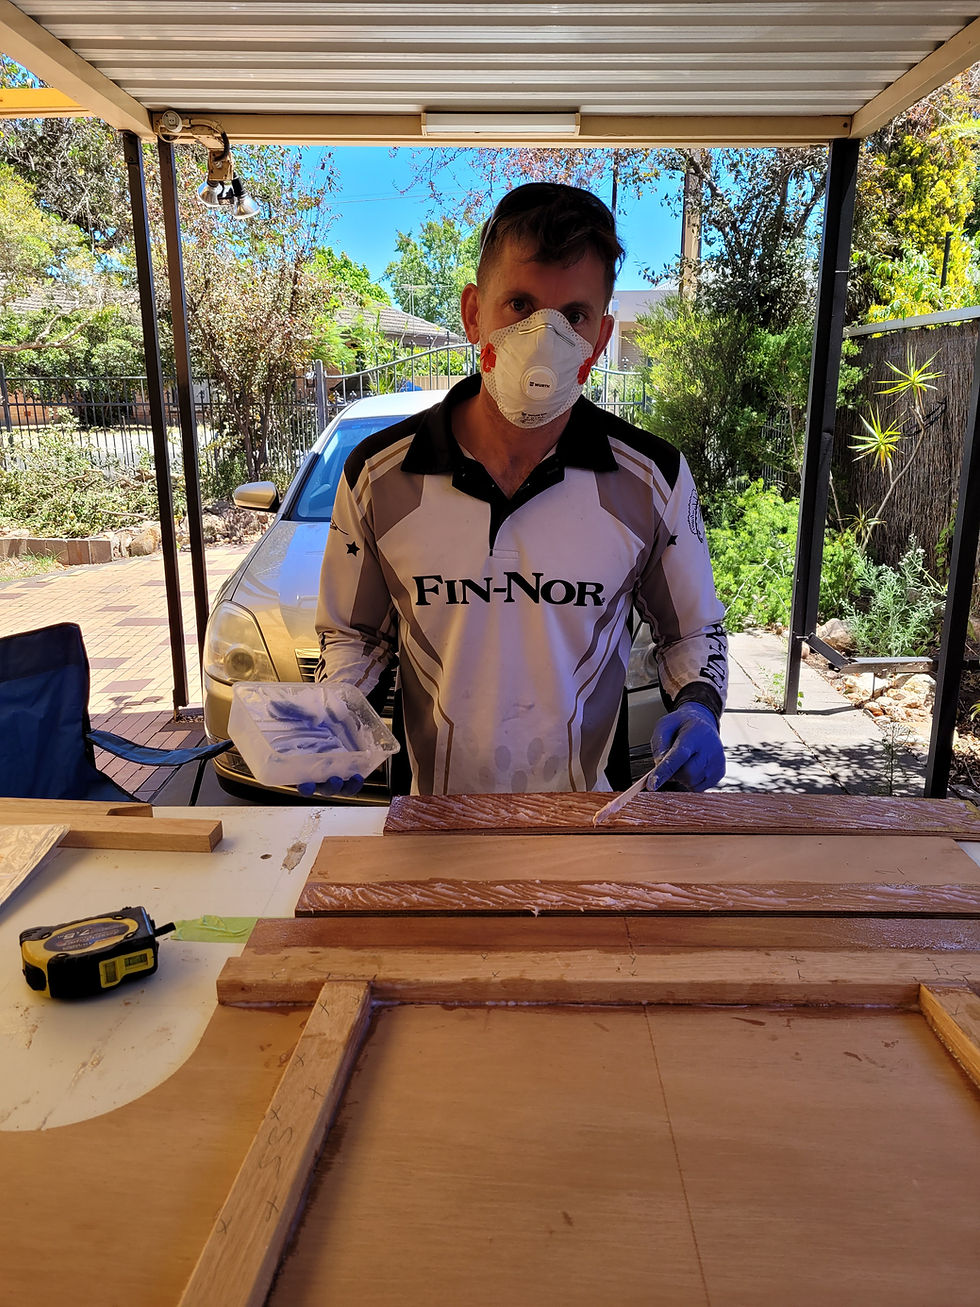
The next step was mixing the West System epoxy resin. Firstly, we mixed up a batch of 5 parts resin to 1 part hardener (totaling 180grams) using a tongue depressor then used a cheap brush to entirely lather up all the pieces that were about to be bonded together. This process in the Gougeon Book of Boatbuilding is called "Wetting-Out". Once this was complete we added 413 Microfibre blend until the consistency was like mayonnaise and then used a tongue depressor to lather up each piece on both sides and scraped it across diagonally to create a rough surface. I found a good reference for the required consistency to be located on page 32 in the Gougeon book. An online pdf copy is available online.
Once this was complete the pieces were placed together and screwed in with 316 SS screws before going around with the tongue depressor to pick up any epoxy that had been squeezed out during the screwing process. Apparently this is a good sign you have used the correct amount epoxy when it comes out of the edges once screwed together.
Any leftover epoxy was then used around the edges to start the 'filleting' process although as it was quite a hot day, it was quickly curing and so we ended up having a small amount of wastage.
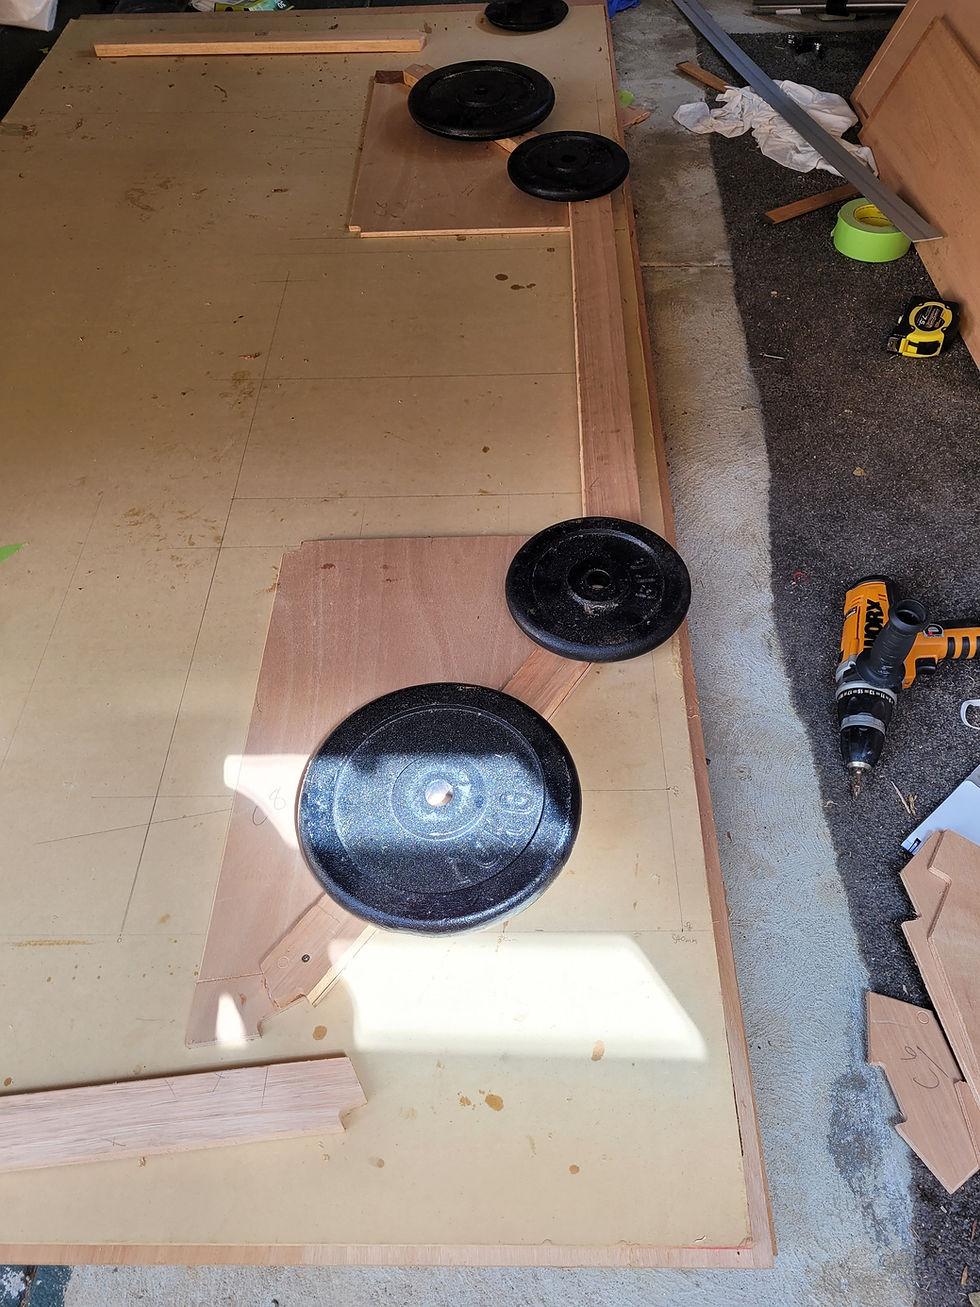
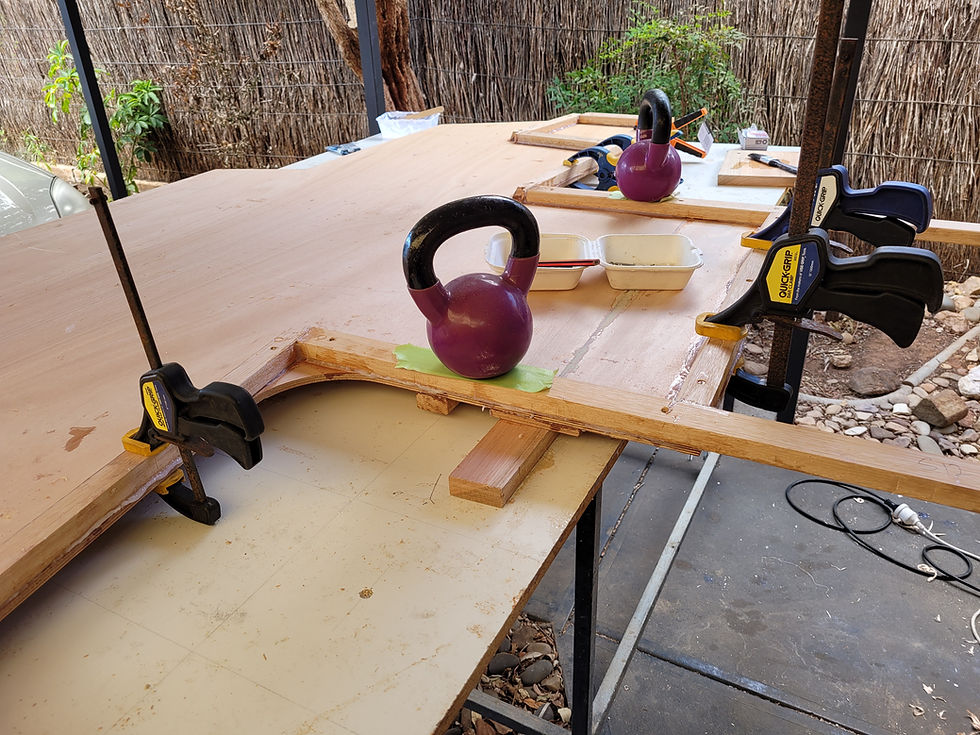
I had a few weights laying around that I ended up placing on the pieces that had been screwed down to assist with the bonding process but essentially the above were the steps that were taken for all of the pieces however had added pictures, learnings and anything completed differently with each frame below.

FRAME D
I decided this would be the frame I would complete next. On the face of it, it looks quite simple but once I layed out all the pieces it was a bit tricky to make sure the measurements were angles were all correct. I ended up checking the measurements around a dozen times as it was the first frame I completed by myself and was nervous about getting it wrong. I ended up bonding the gussets to the frames over two sessions. Once in the morning and the next in the evening on the other side once cured.
I checked all the measurements again once cured and it all appeared to be in order so it was time to move onto the next frame.


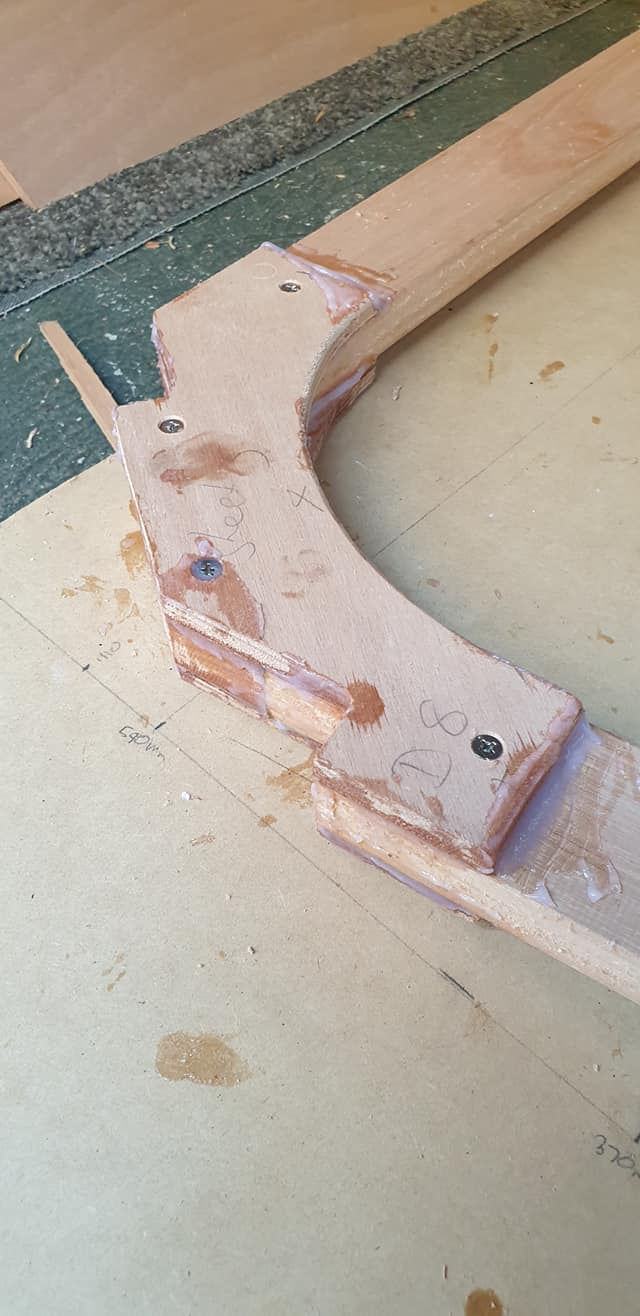
Frame C
This was the next frame to be completed in the process. This was completed much in the same way as frame D although I did the work on quite a hot day and ran into my first issue with the epoxy. This frame required a larger amount of epoxy due to a portion of the hardwood attaching to the ply and so I mixed a larger batch to get the job done. Almost immediately I started to feel the plastic container heat up which was an exothermic reaction I had read and heard about and I realised I had to work quickly to get the job done. By the time the wetting out process was complete and I had mixed in the microfibre blend the container was very hot and I think within a minute the whole batch had gone completely solid on me. A total waste of epoxy.
I ended up having to make up another batch which I spread out over a board as I had learnt that by having the epoxy over a larger surface area and reducing it's depth, the less likely it was likely to exotherm on me. The second batch worked although I did notice the epoxy cured much quicker still than on the cooler days. Currently being an Australian summer it is quite hot in the middle of the day so moving forward I decided to only mix the epoxy in the evenings or in the mornings. I would also later find out that mornings was best as the epoxy was cooler at this time.


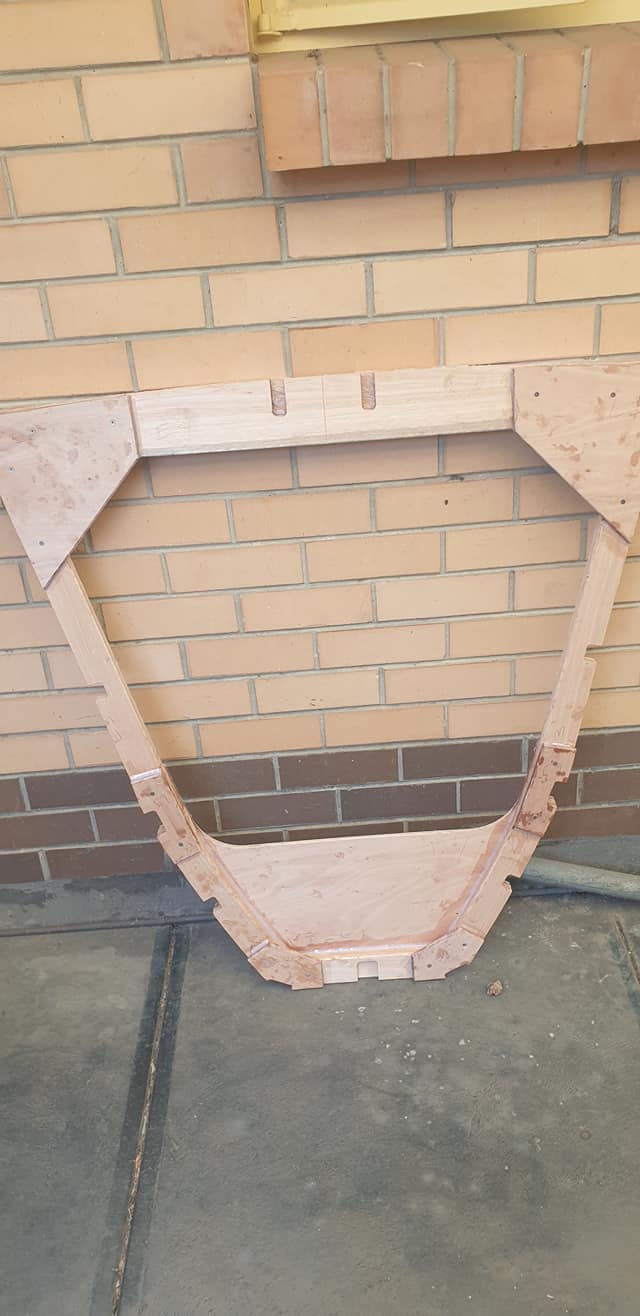
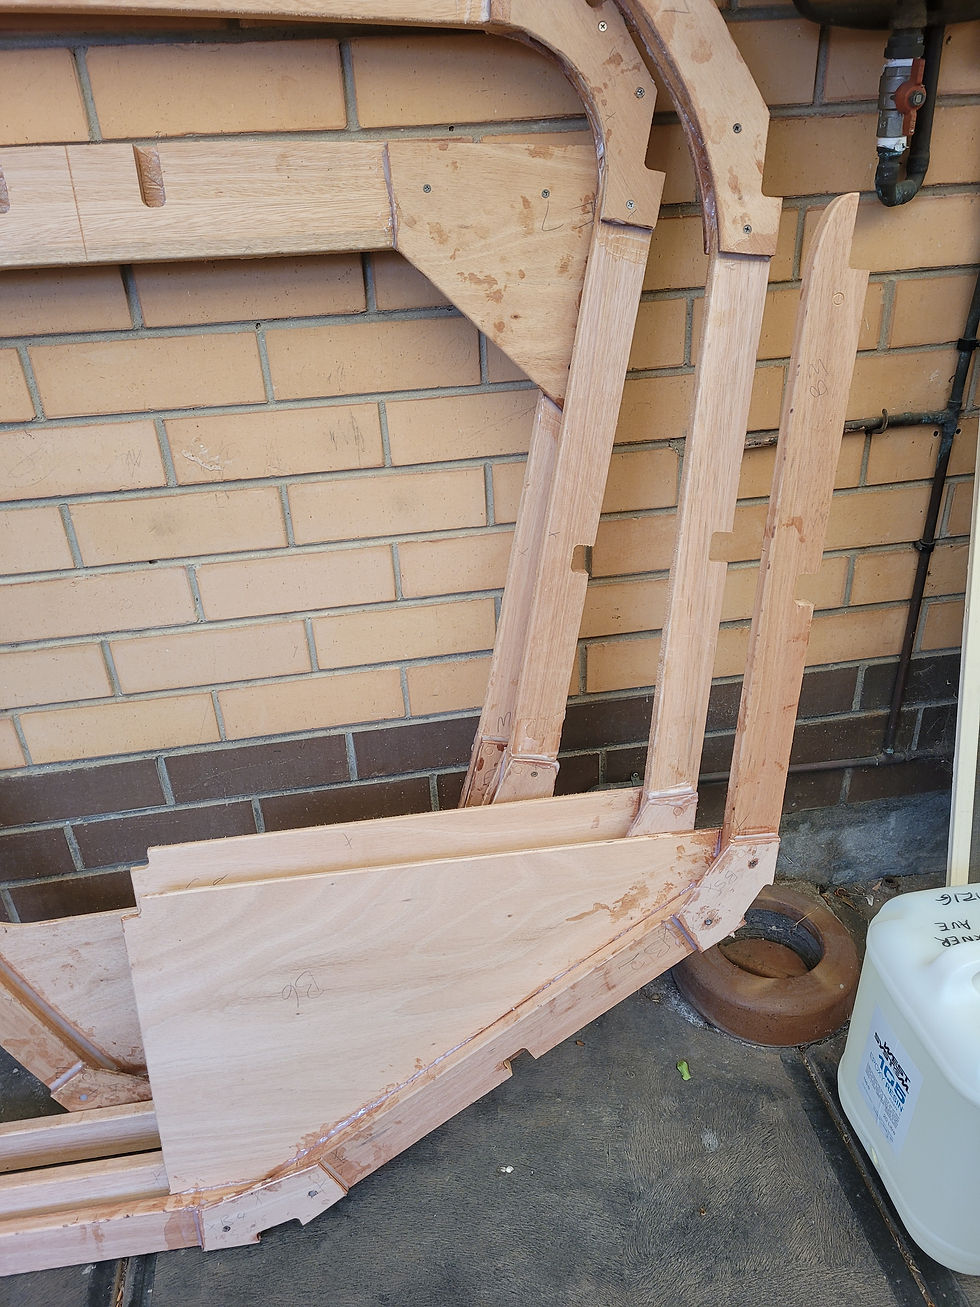
FRAME B
Again, a similar process was completed for frame B. Once again a lot of measurements were taken to ensure they were correct. As this is an open frame as such at the top, I placed a piece of ply under each edge to keep the hardwood pieces as straight as possible but otherwise this frame ended up being completed like the others. I have noticed a lot of other builders have added a piece to connect the top pieces together in the interim prior to installing but I have not done this at this point of time.


FRAME D1
As the oak post, keel (although I purchased these separately to come with the kit), and mast step timber do not come with the CNC package and being slightly unsure about how to go about these pieces I ended up talking to my mate Tom who is a Shipwright about the process and he mentioned that he had some oak and would be willing to assist with laminating these pieces together to spec. When Tom delivered the Oak Posts and mast step timber pieces to me, it was shortly after completing the previous frame so I decided to have a go at this one next.
It is a bulky solid frame with a portion to be cut out later to install a watertight compartment and the positions to bond the hardwood to are marked out on the ply bulkhead so it was simply a matter of ensuring the pieces were all in the correct position. Tom had also brought me over a solid bench to work off of as well as working off the floor wasn't ideal. After ensuring a the bench was level and true which I had assistance with from Jim (another builder) I completed this frame over several batches of epoxy as it was hot that day and I was nervous about losing the batch again. At the time of writing this I have yet to add the keel timber to the floor as I am just waiting on this from Tom nor has pieces D1-10 & 11 as the information and plans provided say to complete this portion after the boat is planked. Aside from that a lot of weights, clamps and heavy items were used to assist holding the pieces down but otherwise was a relatively straight forward process otherwise.


FRAME A
This was the next frame completed and was a relatively straight forward process as it was just a matter of attaching the hardwood to the marked out points of the ply. I did however notice that the a couple of the pieces appeared to be 1-2mm larger than perhaps they needed to be and I had to file back a couple of pieces to ensure they fit in place. Again there is a fair bit of bonding with this one so it was completed over a couple of batches. I also completed the sides separately, allowing the sides to cure prior to turning the frame over. By now also I realised it was good to set aside a small amount of resin from the wetting out process before thickening as I always seemed to miss a corner or two from the pieces when going to bond them together.


FRAME T
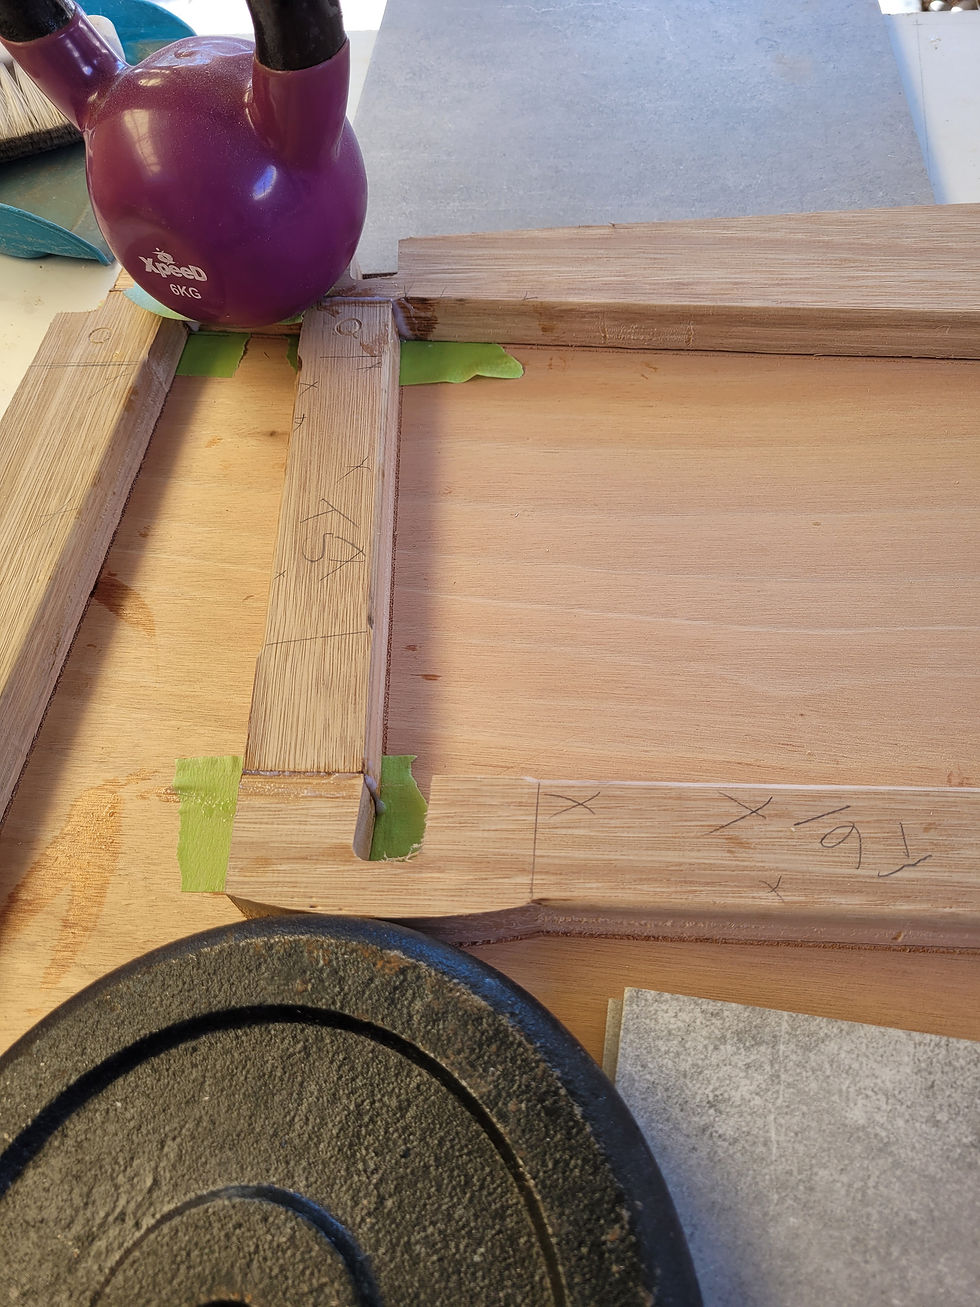
The transom frame was next on the list. From watching the instructional video it recommends leaving the actual transom off when hanging the frame so you can slide the stringers through in due course. The transom does however have all the markings on it on the forward side of the transom to lay your pieces out to easily ensure they are in the correct position. So that the frame didn't stick to the transom I placed tape underneath any join so that any epoxy that was squeezed out during bonding did not stick to it which seemed to work rather well. Aside from that a pretty straight forward process that was finished relatively quickly.


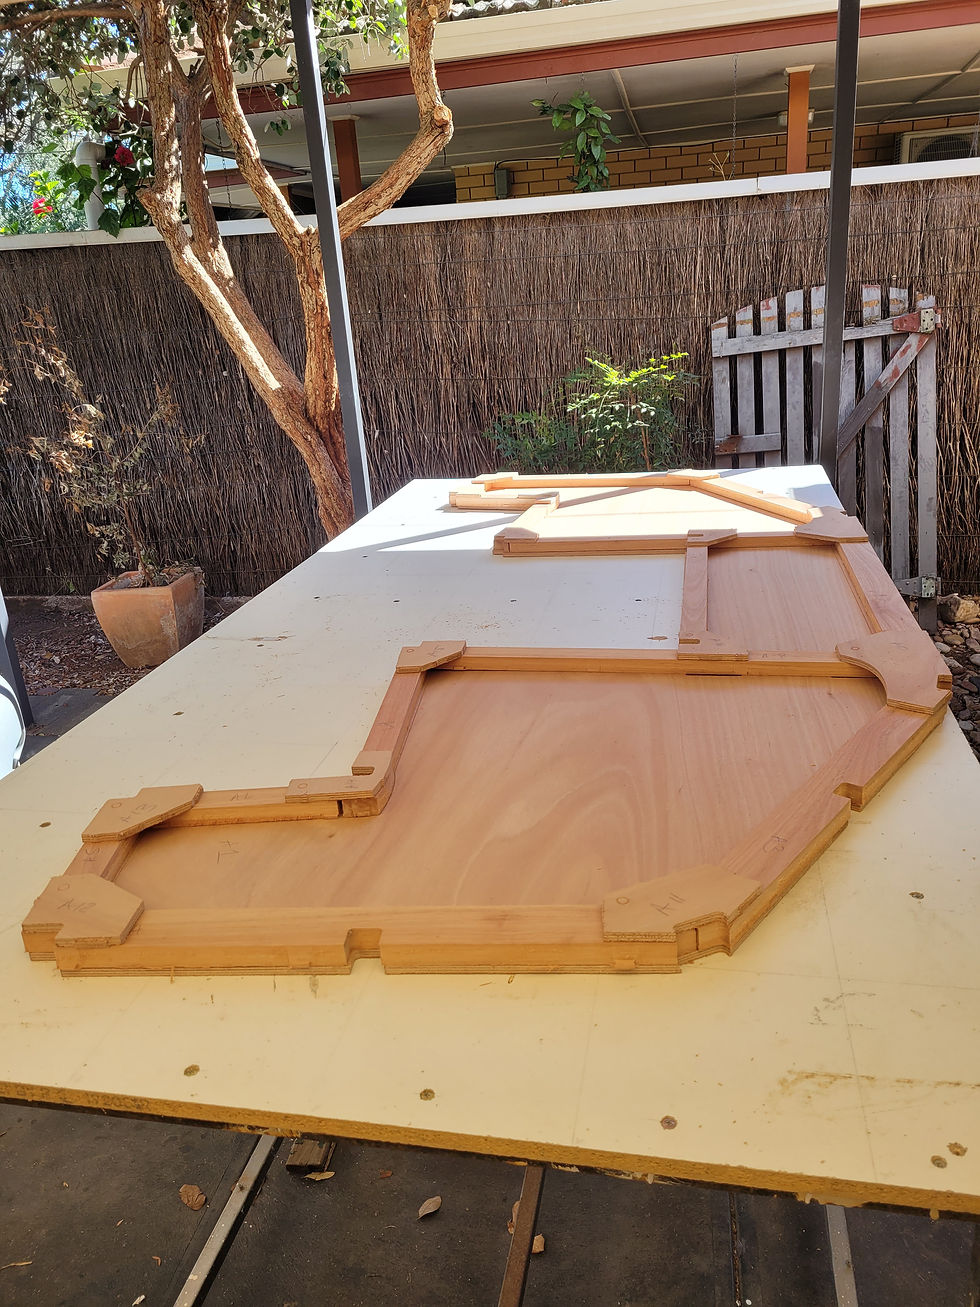
FRAME S
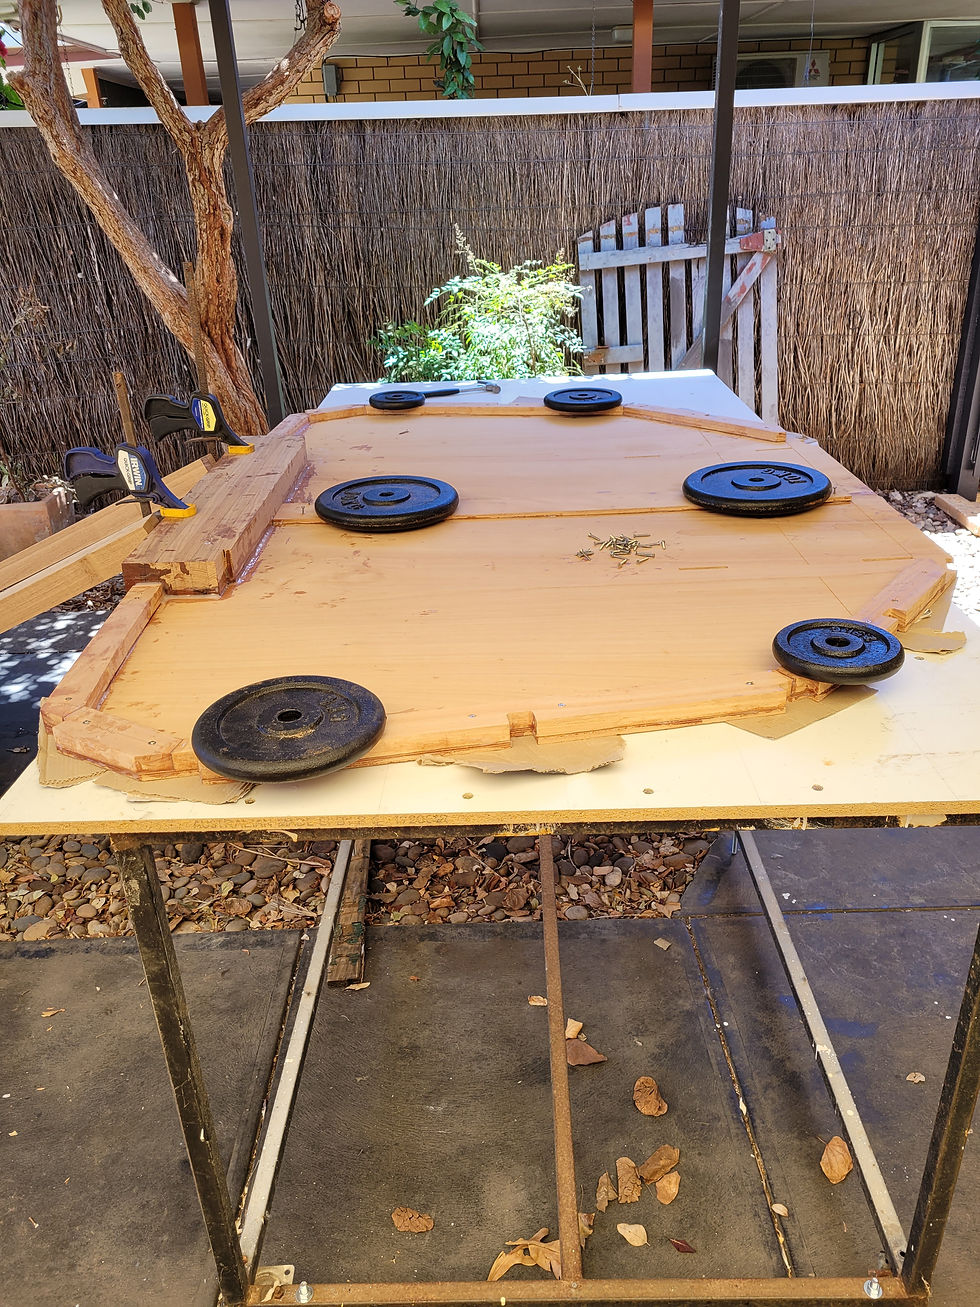
This was the last frame that I completed mostly due to it appearing to be the most complex of the frames so decided to put it off to have as much experience with the others as possible before attempting this one. Whilst it seemed daunting at first after getting into it, it wasn't too bad. In the CNC version, the companionway comes as a solid piece for hatch installation at a later date. There are also a number of pieces here that require beveling so after taking my usual process with the beveling etc of edges I decided to have a go at this. I was slightly unsure of the process of beveling in particular of the piece S14 so I actually got in touch with another builder (Jim Schofield) to ask a couple of questions. We ended up getting in touch via facebook messenger and he ended up providing me a number of tips and things to look out for in future stages.
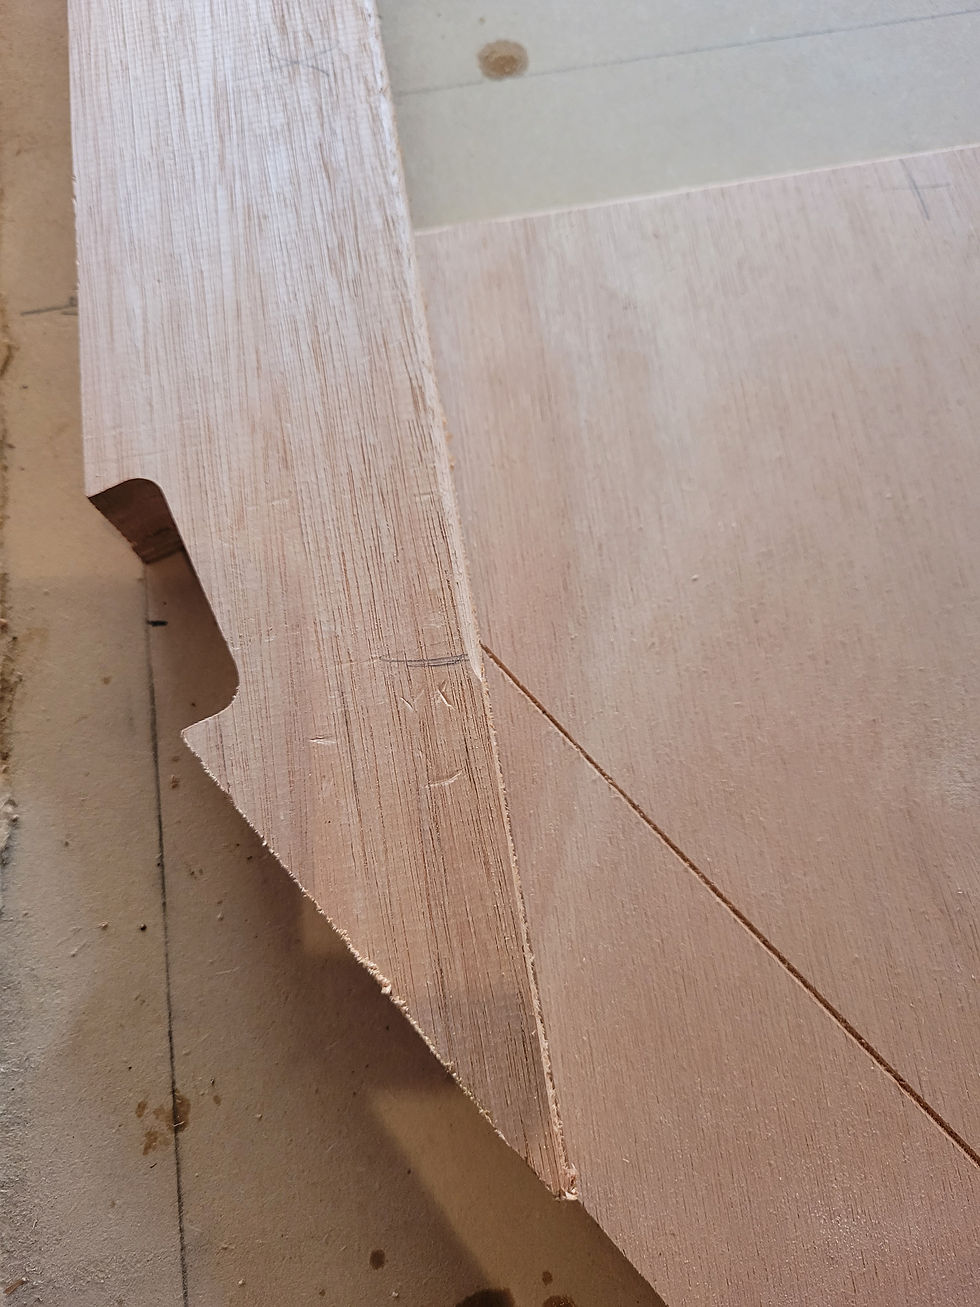
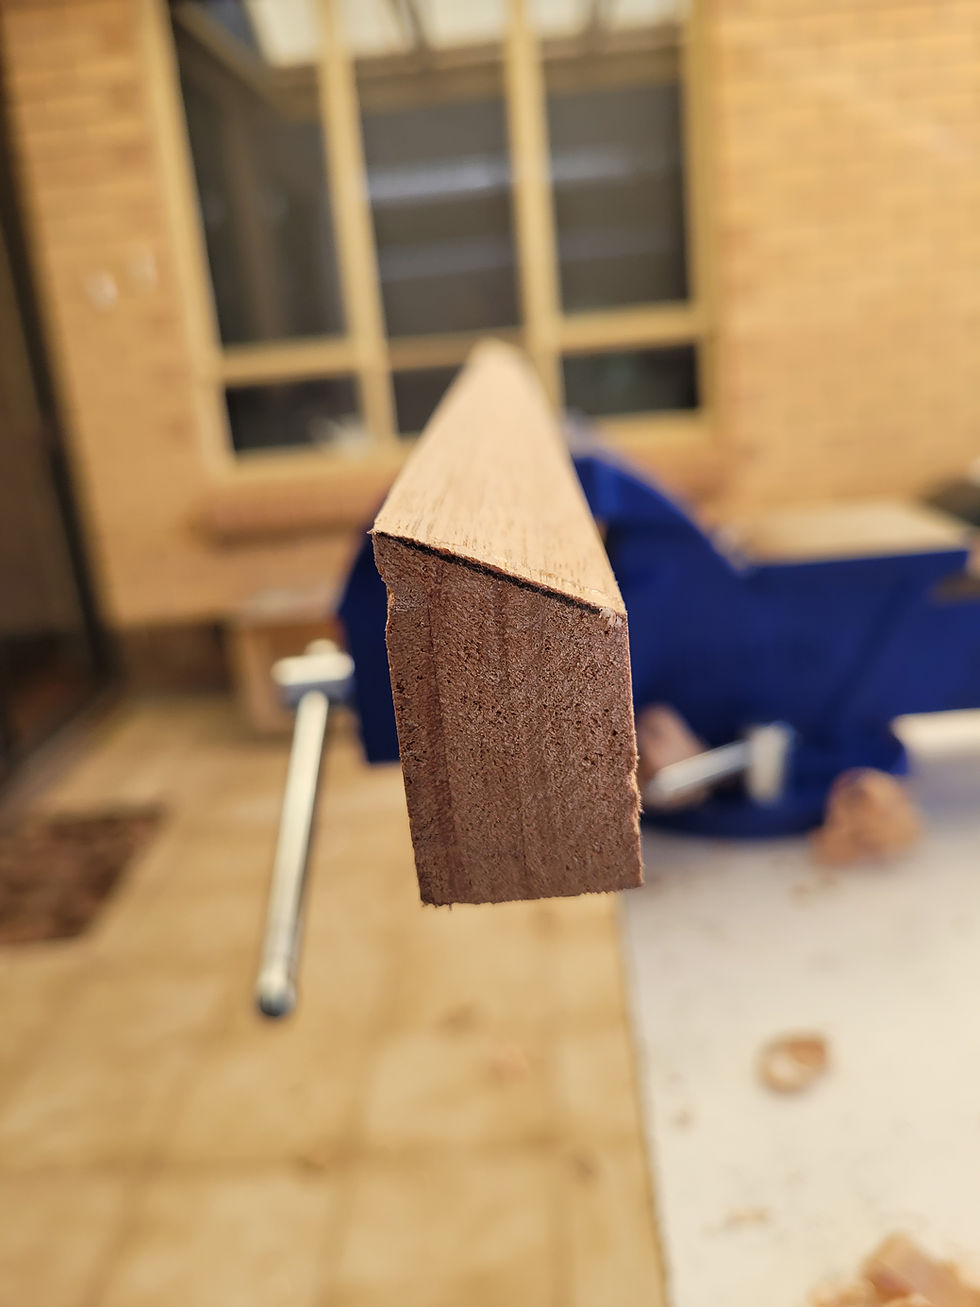
The beveling of the required pieces were completed by being held in a vice and marked out by a digital bevel tool at 25 degrees (except S11 which is approx 16.5 degrees). From there I used a hand plane except for a small portion on S14 where I used a chisel as I was finding difficult to get to the exact point to stop with the plane. I then checked each piece afterwards to ensure they were as accurate as I could get them.
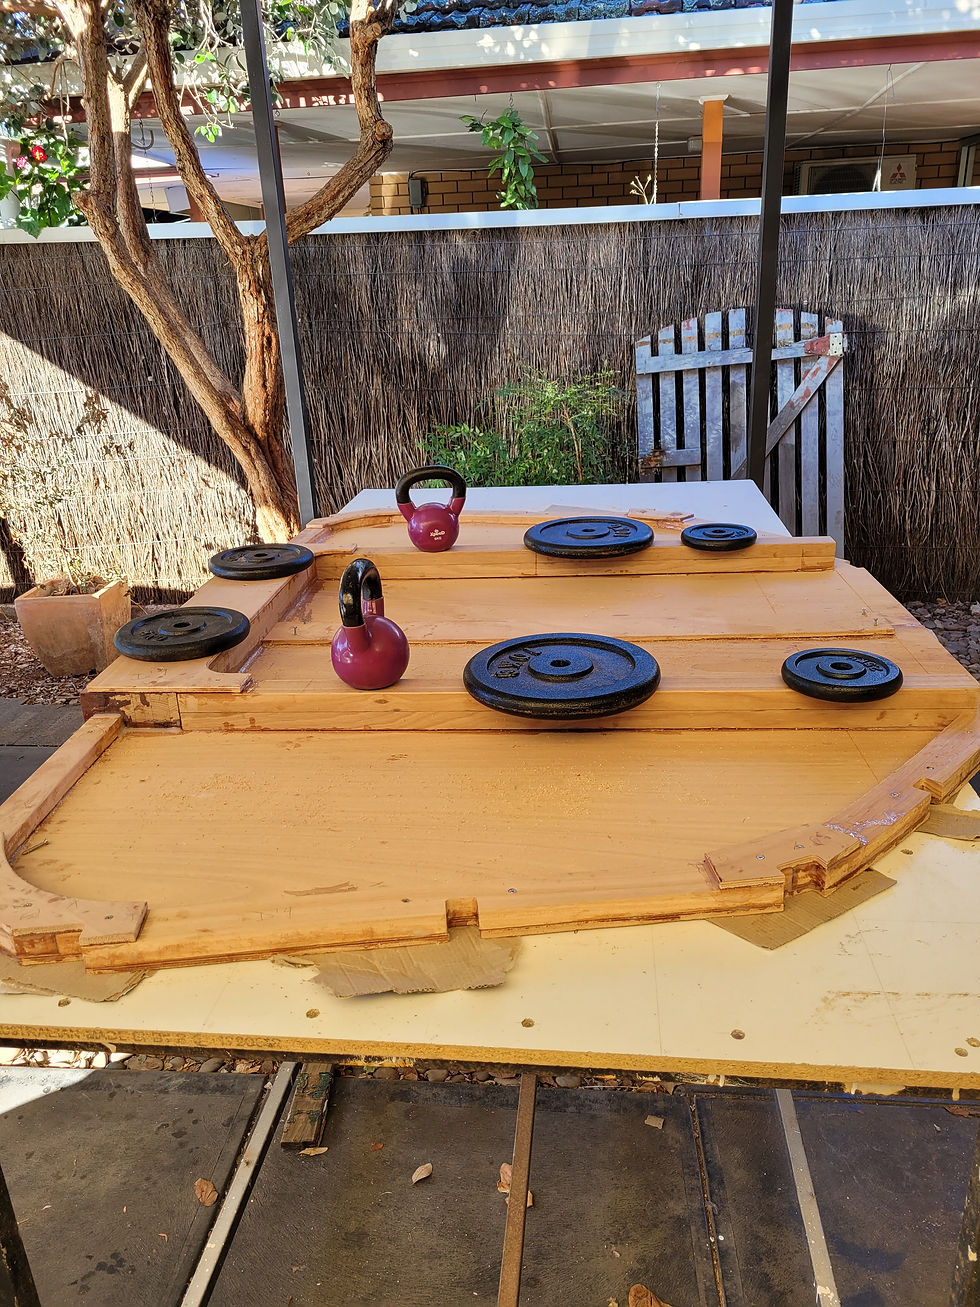
Markings from frame S were only included on the forward side of my CNC package so I completed this side first prior to turning over. The aft side pieces appear to line up with the edges of the solid ply piece and after checking measurements bonded together as per previous frames in two stages, the last being the bottom most piece and gussets that attach to it.
Whilst the measurements here appear to be correct and bonded in the correct place, there is a small portion that of hardwood that sits a bit proud from the ply which doesn't appear to be marked on the plans on the outer most chine. I guess if there is any error this will come out in due course but otherwise I was quite happy with how this frame came together.


NEXT STEPS
The immediate next step from here is to sand the frames back and tidy up some of the epoxy that seems to continue to squeeze out during the drying process.
I am also thinking after speaking with experienced boatbuilders (Aaron Haigh / Tom Crabb) to completely seal each of the frames prior to hanging them for easier access rather than doing this process up in the frame in tight confinement. I have been recommended with the product 'International Everdure' for it's ease of application and ability to soak up into and strengthen the timber so will purchase a 2L kit of this in the coming days and will see how I go. Once completed it will be time to set up the jig, hang the frames and move onto the next step of adding the stringers!


Comments